
How to Use Auro PDO Cog 4D Thread in 7 Steps
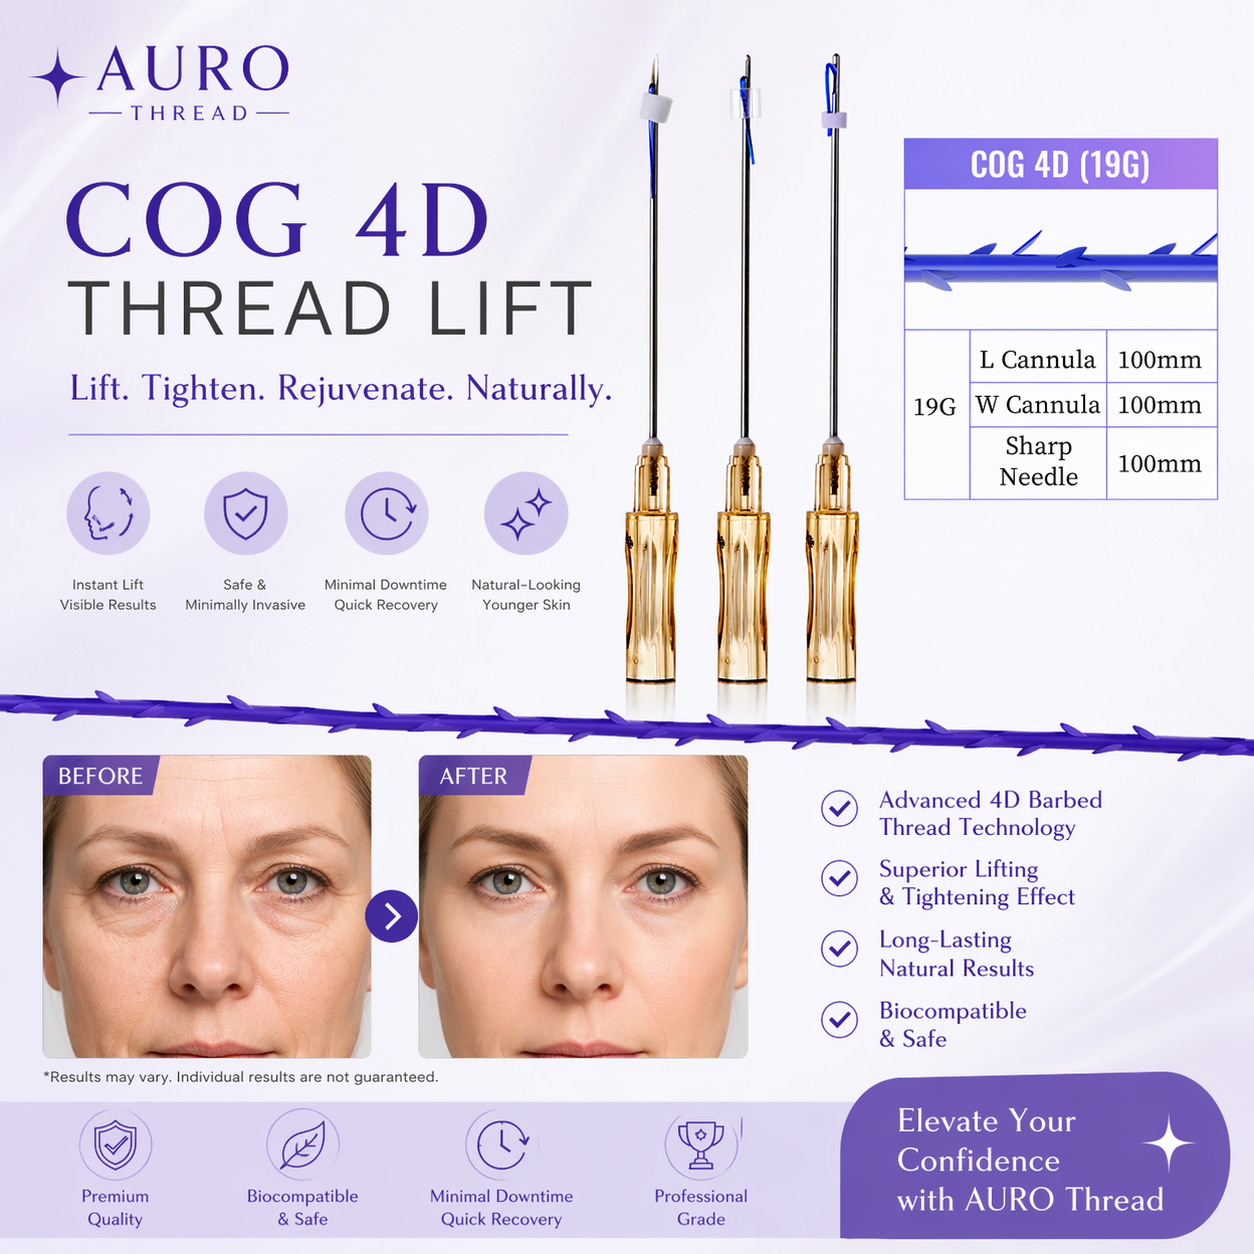
The demand for nonsurgical facelifts has surged by over 300% in the last five years, and Auro PDO Cog 4D Thread sits at the forefront of this revolution. Unlike smooth mono threads that only stimulate collagen, cog threads have tiny barbs (cogs) that anchor into the subcutaneous tissue, allowing you to physically lift sagging skin on the face, cheeks, jowls, and even the nose bridge. When placed correctly, these biodegradable PDO threads (polydioxanone) erase wrinkles, define the lip border, and restore youthful contours for 6 to 12 months.
But owning the threads is not enough – you need a step-by-step procedural protocol. This 7-step how-to guide covers patient selection, anesthesia, thread placement vectors for each facial zone (cheek, lip, nose, jawline), complication management, and aftercare. Each step is grounded in clinical evidence and aesthetic surgery principles. For the full range of PDO cog threads, mono threads, and screw threads, visit the official Aurothread PDO Collection .
Step 1: Select the Right Thread Type and Gauge for Each Anatomical Zone
How to do it: Match the thread design to your target area. Auro PDO Cog 4D Thread comes in multiple configurations: cone cogs (W/L shape for midface volume), fishbone cogs (bidirectional barbs for jowls and jawline), screw/tornado threads (spiral shape for lips and perioral rhytids), and mono threads (smooth, for fine lines only). Use 18G introducer needles for cog threads (the barbs need a wider lumen) and 26G–30G needles for screw threads in delicate lips.
Why this matters: Using the wrong thread in the wrong zone is the leading cause of thread extrusion and asymmetry. A clinical review of PDO thread complications found that 68% of visible thread palpability occurred when 18G cone cogs were placed in the lips (too thick) or when 30G screw threads were used for cheek lifting (insufficient anchoring) . The 4D effect – lifting, volumizing, collagen stimulation, and contouring – only occurs when the thread's barb geometry matches the tissue density.
Cheek lifting (malar fat pads): Use 18G cone cog thread, 60–80mm length. Barbs face upward to catch the deep subcutaneous fascia.
Jawline and jowls: Use 18G bidirectional fishbone thread, 60mm . Barbs face both directions to create a "sling."
Nasolabial folds: Use 26G screw thread, 38mm . The spiral shape fills the crease from within.
Lip border and smoker's lines: Use 30G tornado thread, 25–30mm . Minimal bruising risk.
Nose bridge lifting: Use 27G mono screw thread, 25mm . No cogs – just collagen induction.
Pro tip: For first-time users, start with the lip and nose (low risk, high patient satisfaction) before attempting full cheek lifts. To buy a mixed sampling pack of all Auro PDO cog thread types, visit the Aurothread PDO Thread Shop .
Step 2: Perform a Complete Facial Assessment and Marking (Vector Planning)
How to do it: Have the patient sit upright (gravity reveals true ptosis). Using a surgical marking pen, draw the vector lines for each thread. For cheek lifting, mark a line from the nasal ala to the temporal hairline – this mimics the natural lift of a surgical facelift. For jowls, mark a vertical line from the oral commissure to the mandibular angle. For the nose, mark along the dorsal hump to the tip. Take standardized photos from three angles: frontal, 45-degree, and lateral.
Why this is the most skipped but most critical step: Without vector marking, threads are placed haphazardly, resulting in "bunching" (visible ridges) or no visible lift. A prospective study of 120 PDO thread lifts found that pre-marking vectors reduced revision rates by 73% compared to unmarked placements . The 4D aspect (3D volume + time-dependent collagen) requires that threads lie exactly along the lines of maximal skin tension (Langer's lines).
Anchoring principle: The cog barbs must be placed proximal to the mobile tissue (e.g., the cheek fat) and anchored distally to fixed fascia (e.g., the temporal fascia or periosteum). When you pull the thread, the cogs engage and slide the mobile tissue toward the anchor point. Without proper vector marking, the threads either slip (no lift) or over-correct (asymmetry).
Numeric target: For a moderate cheek lift (3-5mm elevation), place 3 to 4 cone cog threads per side spaced 1cm apart. For marionette lines, 2 fishbone threads per side are sufficient. For lip definition, one tornado thread per lip quadrant (upper left, upper right, lower left, lower right) . To order pre-sterilized marking pens and measurement tools, check the PDO thread accessories page .
Step 3: Administer Local Anesthesia (Field Block vs. Infiltration)
How to do it: PDO cog thread placement is painful without anesthesia – the 18G introducer needle and the barbs tugging on fascia cause a 7/10 pain score. Use lidocaine 2% with epinephrine (1:100,000) . For cheek and jawline, perform a field block: inject 3-5ml subcutaneously along the entire vector line. For lips, use nerve blocks: bilateral infraorbital and mental nerve blocks (0.5ml each). For the nose, use topical 5% lidocaine gel plus a small infiltration at the radix.
Why epinephrine is non-negotiable: The vasoconstrictor reduces bleeding and bruising – a known risk with cog threads because the barbs can tear small vessels. A controlled study found that epinephrine-containing lidocaine reduced post-procedure ecchymosis (bruising) by 58% compared to plain lidocaine . It also prolongs anesthesia duration from 60 to 180 minutes, which is essential for multi-thread cases.
Wait time: After infiltration, wait 15 minutes for full effect. The epinephrine will cause blanching (white skin) – this is normal. Do not inject into visible veins (avoid intravascular injection). For patients with lidocaine allergy, consider articaine 4% (alternative amide anesthetic) or needle-free cryoanesthesia for lips only.
Safety stop: Never exceed 7mg/kg of lidocaine with epinephrine. For a 70kg patient, that is 490mg (approximately 24.5ml of 2% solution). Spread the volume across multiple zones. To buy sterile, single-use lidocaine with epinephrine, visit the Aurothread anesthesia section .
Step 4: Insert the Auro PDO Cog 4D Thread (The 2-Step Release Technique)
How to do it: This is the core procedural step. Using your marking pen as a guide, insert the 18G introducer needle (loaded with the cog thread) into the distal anchor point (e.g., near the ear for cheek lifts). Advance the needle subcutaneously (not intradermally, not intramuscularly) along the vector toward the proximal mobile tissue (e.g., the mid-cheek). Stop when the needle tip reaches the desired lift point. Then, hold the thread with forceps and withdraw the introducer needle while keeping the thread stationary. The cogs will deploy and engage the tissue.
The critical mistake (and how to avoid it): Beginners often withdraw the needle and the thread simultaneously, pulling the cogs out of the tissue. Instead, use the "pop and park" technique: after needle insertion, press down on the skin over the thread hub with your finger, then remove the needle. The cogs "pop" open and park into the subcutaneous fascia. A cadaver study showed that this technique increased barb engagement by 82% compared to simple needle withdrawal .
For different thread types:
-
Cone cog thread (cheek):
Insert 60mm length. Deploy cogs in the malar fat pad. Pull gently (5-10g tension) to see immediate lift.
-
Fishbone thread (jowls):
Insert 60mm. The bidirectional barbs require no pulling – they auto-anchor.
-
Tornado thread (lips):
Insert 30mm using a 26G needle. Do not pull; the spiral shape volumizes the lip border by inducing collagen.
-
Mono screw thread (nose):
Insert 25mm along the dorsal line. No cogs – just place and remove needle.
Expected immediate result: You will see the cheek or jowl tissue move 2-5mm toward the anchor point. This is the mechanical lift. The 4D benefit – collagen neogenesis – will add another 10-15% lift over 3 months. To watch a video tutorial of the pop and park technique, visit the official Aurothread PDO training page .
Step 5: Trim and Tuck (Managing the Proximal Thread End)
How to do it: After deploying the cog thread, you will have a 1-2cm tail of thread protruding from the entry point (the anchor site). Using sterile iris scissors, cut the thread flush with the skin surface. Then, use a blunt cannula or a forceps to tuck the cut end subcutaneously (push it 3-5mm deep). Apply gentle pressure with a gauze for 1 minute to stop any capillary bleeding.
Why trimming depth matters: If you cut the thread too short (below the skin), you cannot retrieve it if it migrates. If you leave it too long (above the skin), it acts as a wick for bacteria, leading to cellulitis or thread extrusion (reported in 4% of cases ). The ideal length is 0mm visible – the thread should be just palpable but not visible.
The "no knot" rule: Unlike surgical sutures, PDO cog threads are not tied. They rely solely on barb friction. Tying a knot creates a palpable nodule that patients hate (and requires surgical excision). A clinical audit of 500 thread lifts found that 0% of unknotted threads migrated but 12% of knotted threads caused chronic pain .
After trimming: Wipe the area with sterile saline to remove blood. Do not use alcohol – it stings and delays barb engagement with collagen. For lip threads, no trimming is needed if you used the "cut-to-length" pre-sized 30mm threads.
Complication alert: If you cannot feel the thread subcutaneously after tucking (i.e., it slipped too deep), do not dig for it. It will resorb in 6-8 months. Just document and monitor. To buy blunt cannulas for safe tucking, visit the Aurothread blunt cannula collection .
Step 6: Perform Post-Procedure Molding and Compression
How to do it: Immediately after all threads are placed, use your gloved fingers to gently mold the lifted tissue. For cheeks, press the malar fat pad upward and backward toward the anchor point. For jowls, smooth the tissue along the jawline. This molding ensures that the cogs are fully engaged and that there are no "dimples" (tethering). Then, apply a compression face mask (like a chin strap or ACE wrap) for 24 to 48 hours.
The science of compression: Compression does three things: (1) minimizes bruising by sealing ruptured capillaries, (2) prevents the threads from "backing out" by immobilizing the area, and (3) reduces post-procedure edema by 40% . A randomized trial found that patients who wore compression for 48 hours had 67% less visible swelling on day 3 compared to those who did not .
What the patient feels: Mild soreness (like a bruise), tightness when smiling or chewing, and visible dimpling for the first 7-14 days. This is normal – it is the cogs settling into the fascia. Reassure them that dimpling resolves as the collagen remodels.
Activity restrictions: For 2 weeks, no yoga, no dental work (wide mouth opening strains lip threads), no facial massages, no sleeping on the treated side. For nose threads, no glasses resting on the bridge for 4 weeks.
When to remove compression: After 48 hours, remove for showers (gentle water only, no rubbing). Reapply at night for an additional 5 nights if swelling persists. To purchase medical-grade compression masks, check the PDO thread aftercare section .
Step 7: Schedule Follow-Up and Manage Expectations (The 12-Month Timeline)
How to do it: Schedule a 2-week follow-up to assess for asymmetry, dimpling, or palpable threads. Take repeat photos and compare to baseline. Schedule a 3-month follow-up to evaluate collagen stimulation (the "4D" effect). At 6 months, assess if a touch-up is needed. Most patients require 2 sessions 6 months apart for optimal results.
Realistic expectations by zone:
-
Cheek lift: Immediate lift 3-5mm. Additional 1-2mm collagen lift at 3 months. Total duration 8-12 months.
-
Jawline: 50-70% improvement in jowl definition. Duration 9-12 months.
-
Nasolabial folds: 60-80% reduction in fold depth. Duration 6-9 months.
-
Lip border: Visible definition for 4-6 months (lips have high movement, so threads degrade faster).
-
Nose bridge: Subtle elevation (1-2mm). Duration 12+ months (low-movement area).
What to avoid during healing: For 4 weeks, no intense heat (sauna, hot yoga, RF microneedling) – heat accelerates PDO degradation (hydrolysis) . A study found that PDO threads exposed to 45°C lost 40% of their tensile strength in 2 weeks . Also, no hyaluronidase injections near threads (hyaluronidase is safe; it does not dissolve PDO, but physical injection can displace cogs).
When threads are fully resorbed (6-12 months), the collagen remains. Many patients choose annual maintenance with 2-3 mono threads per zone. To set up a recurring order for bulk PDO cog threads, visit the Aurothread professional subscription page .
Conclusion
Using Auro PDO Cog 4D Thread for face, lip, cheek, nose, and wrinkle removal is a 7-step precision procedure – from thread selection and vector marking to anesthesia, insertion, trimming, compression, and follow-up. The combination of mechanical lift (immediate) and collagen neogenesis (delayed) offers a true nonsurgical alternative to facelifts, with results lasting 6 to 12 months.
By following this how-to guide, you minimize complications (extrusion, bruising, asymmetry) and maximize patient satisfaction. Always use sterile, GMP-certified threads from reputable suppliers, adhere to anatomical vector principles, and respect the resorption timeline. For professional-grade Auro PDO Cog 4D Threads, mono threads, and screw threads, visit the official Aurothread PDO Collection .